Some 9 years ago, I built an FPV plane with an epic headlight. I made a build log but it was lost in a server change. So I redo the blog here and hopefully a bit better.
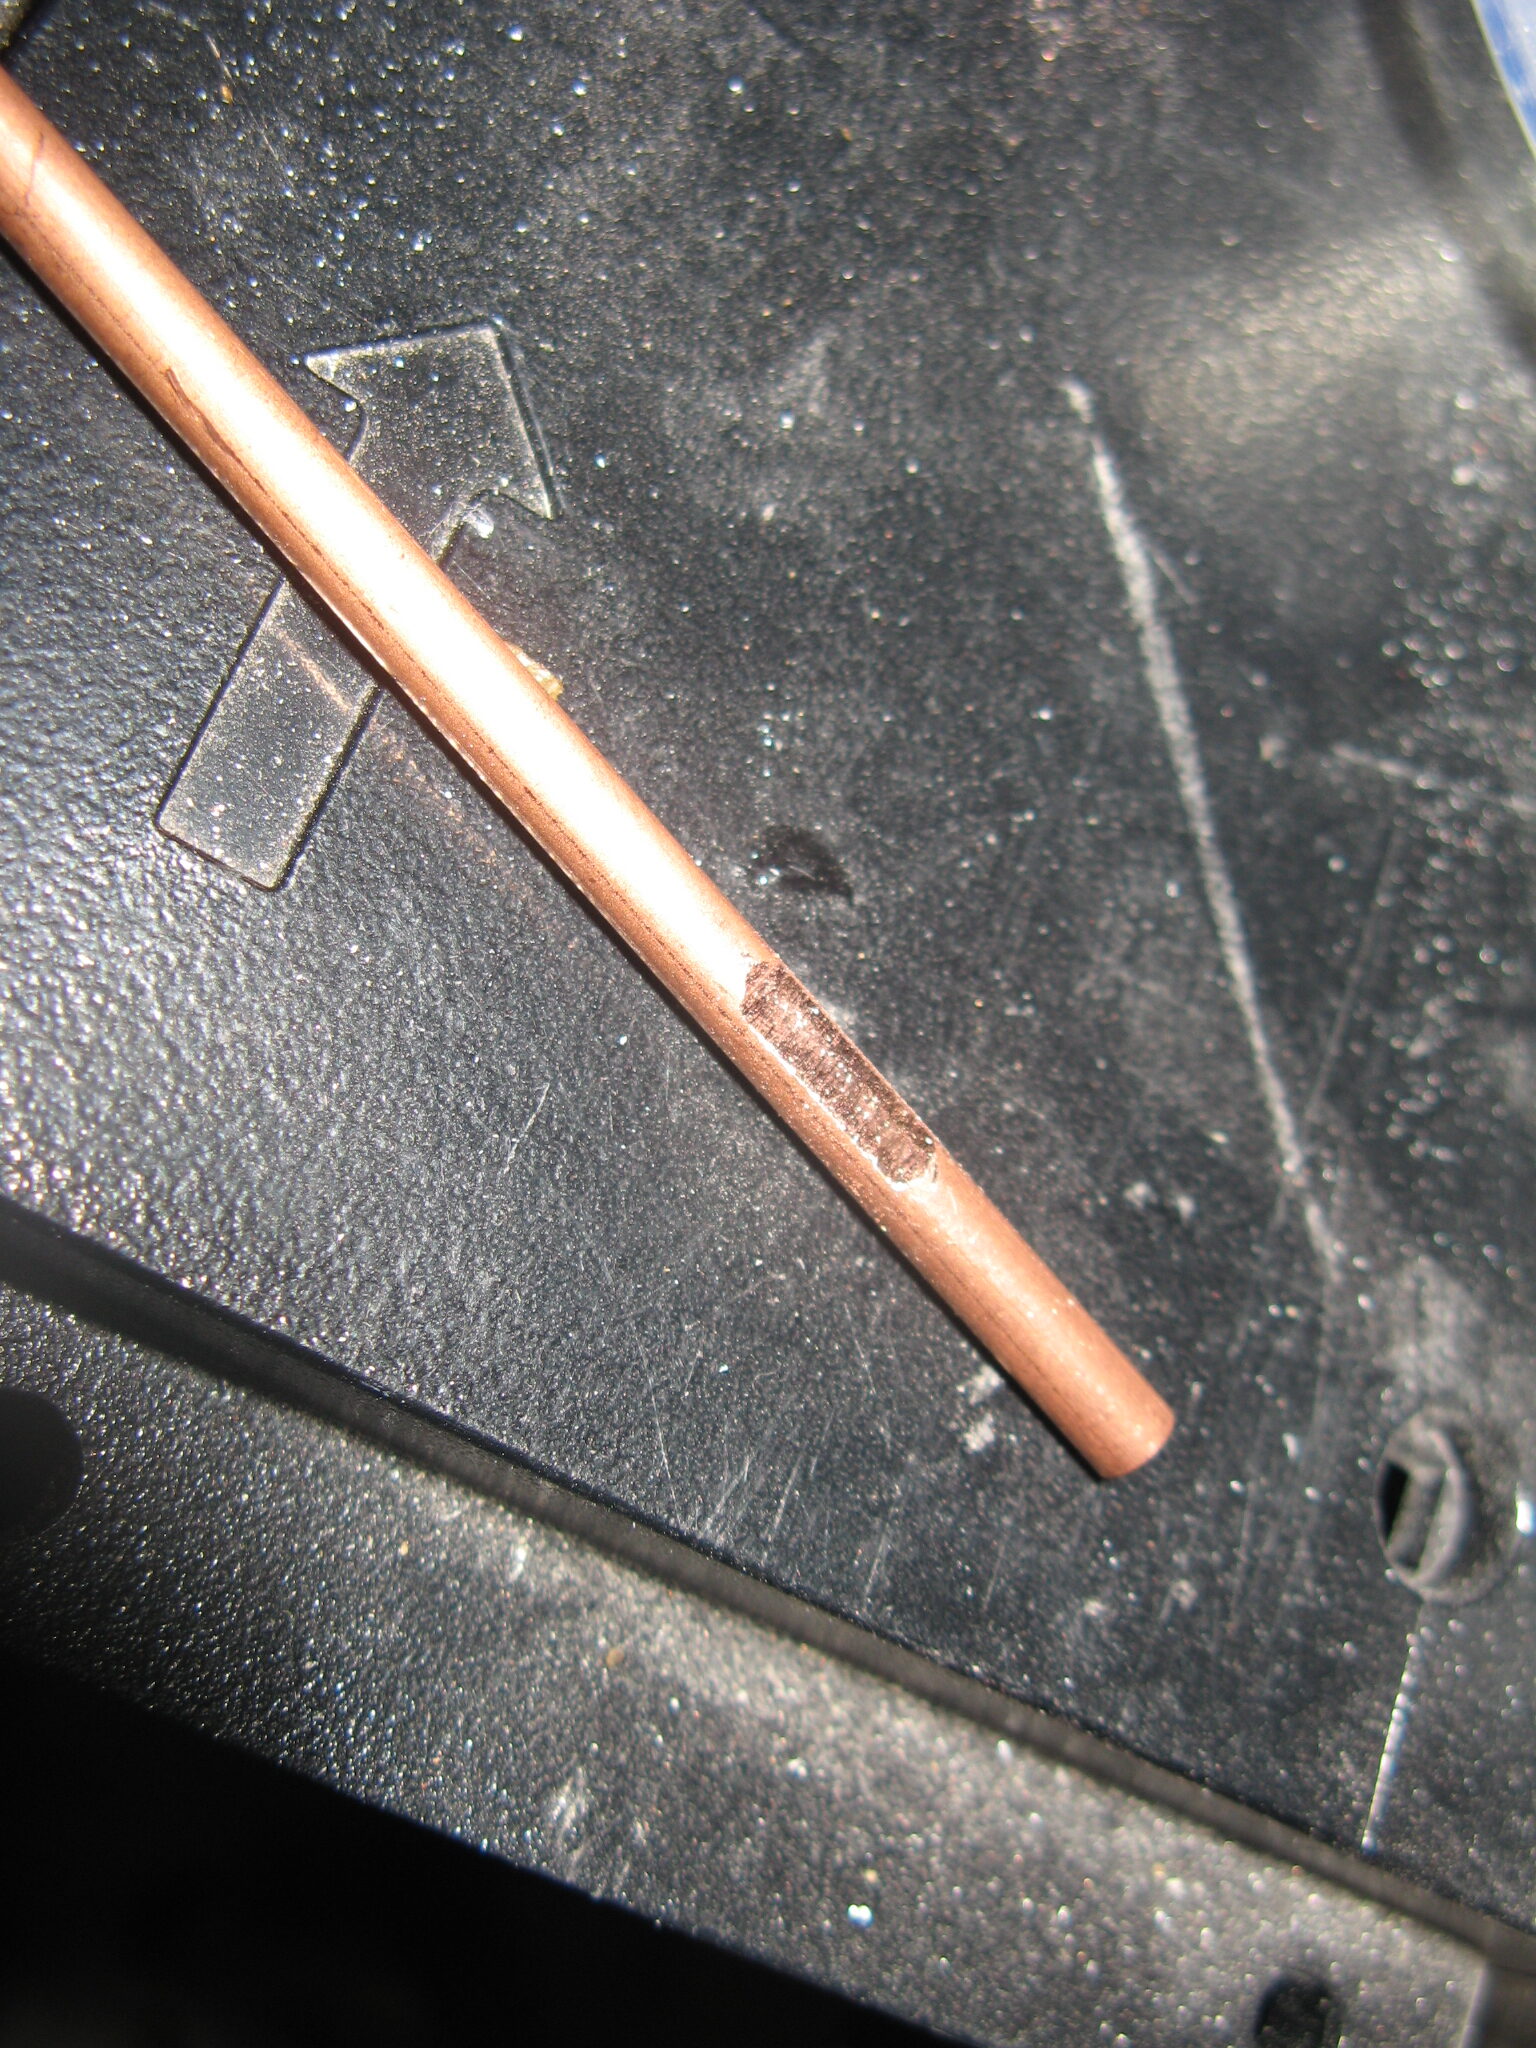
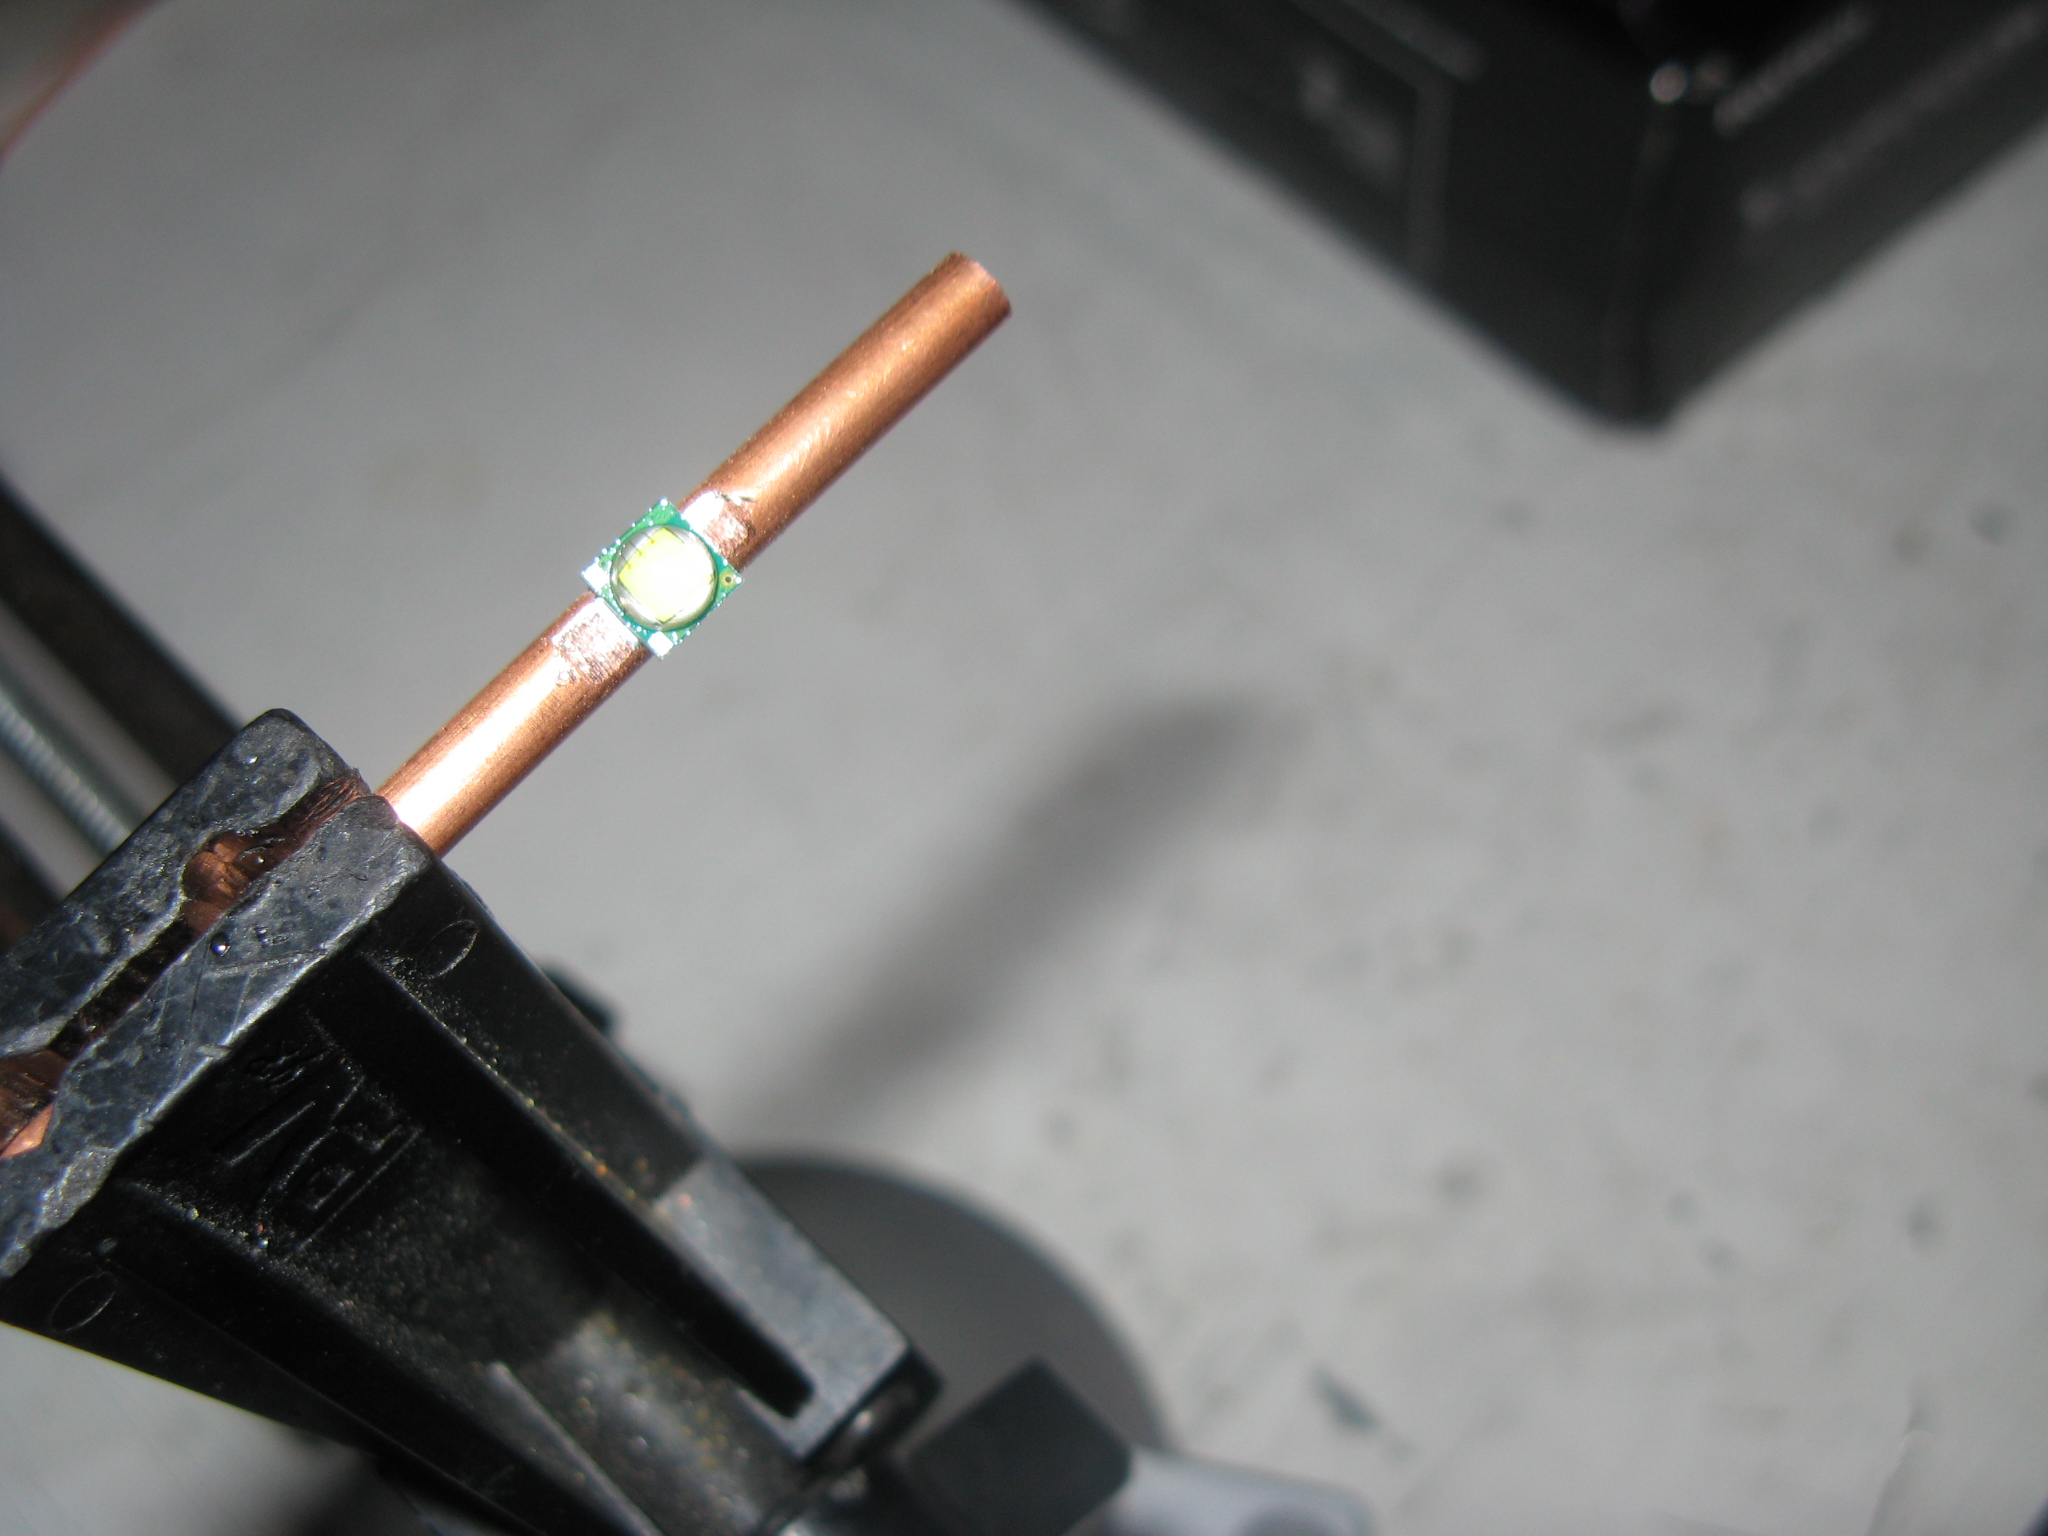
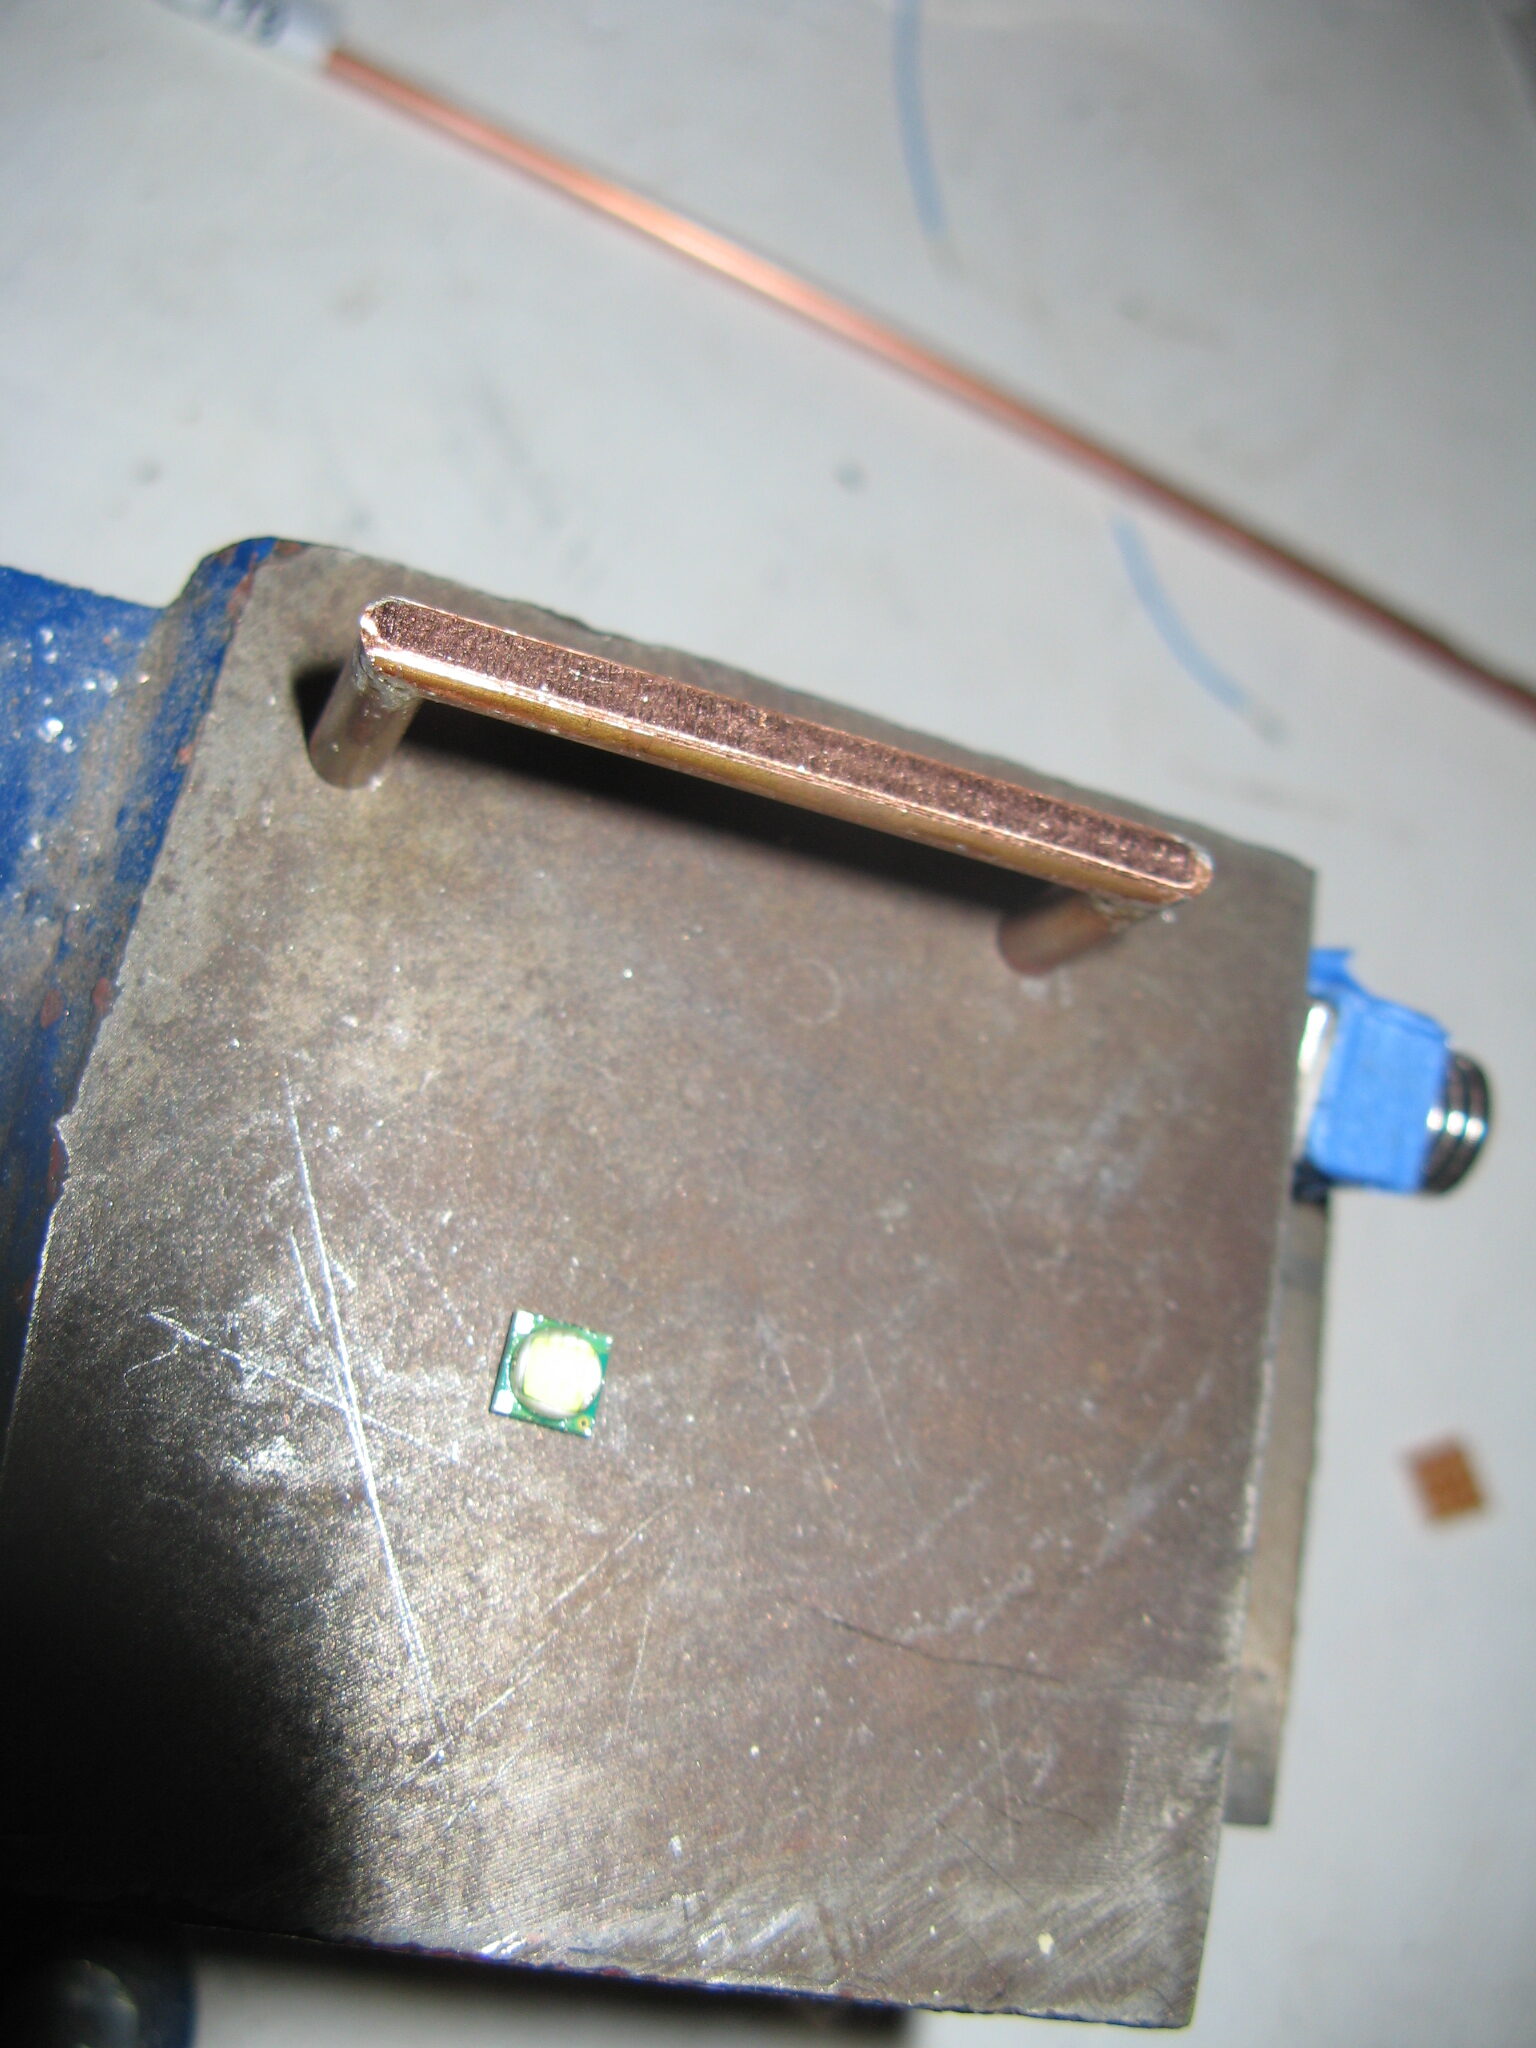
It all started with one concept: Reflow solder an SMT LED directly to copper tube that circulate coolant for the ultimate heatsink. So I first made a test run filling a flat spot on 1/8″ copper tube to fit a CREE XM-L LED. Running water trough the tube I could drive the LED beyond its max spec current of 3A at up to 6A.
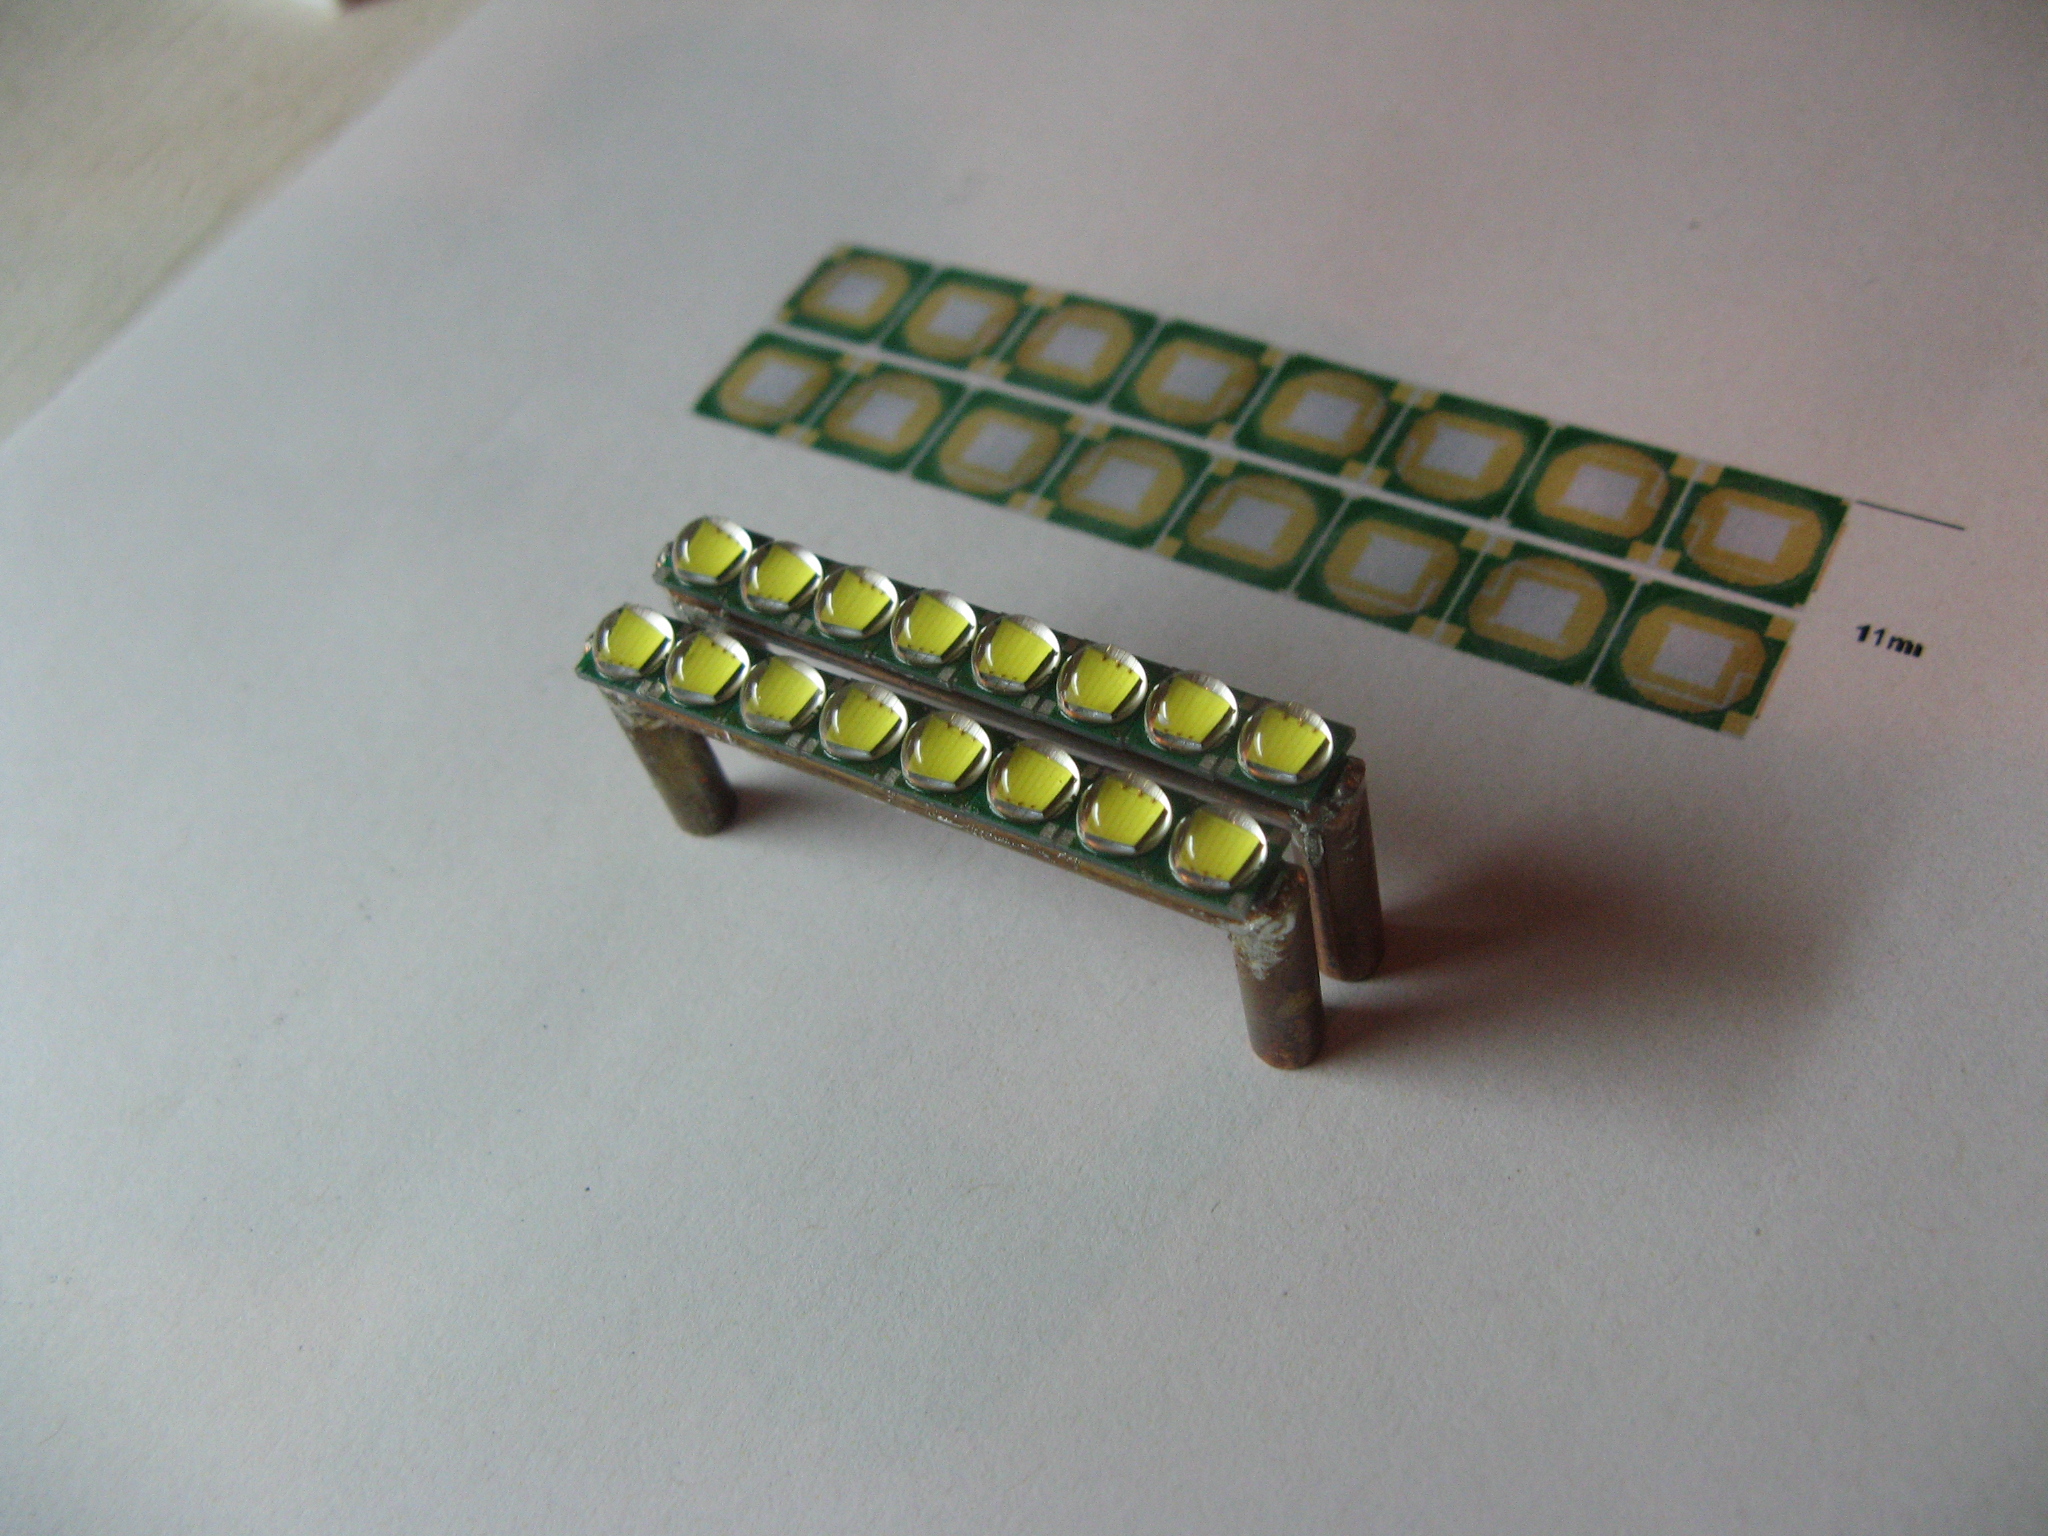
It worked amazing! Next step as to scale this up with 24 LEDs. I made an arrangement of two U shaped tubes with flat side to accept the rows of LEDs. The tubes where soldered with leadfree solder that has a higher melting point.
The LED where then be reflowed in place with leaded solder, which melt at lower temperature, without the whole thing coming apart. They where arranged in two rows of 8 LEDs, making 4 groups of 4 LEDs in series.
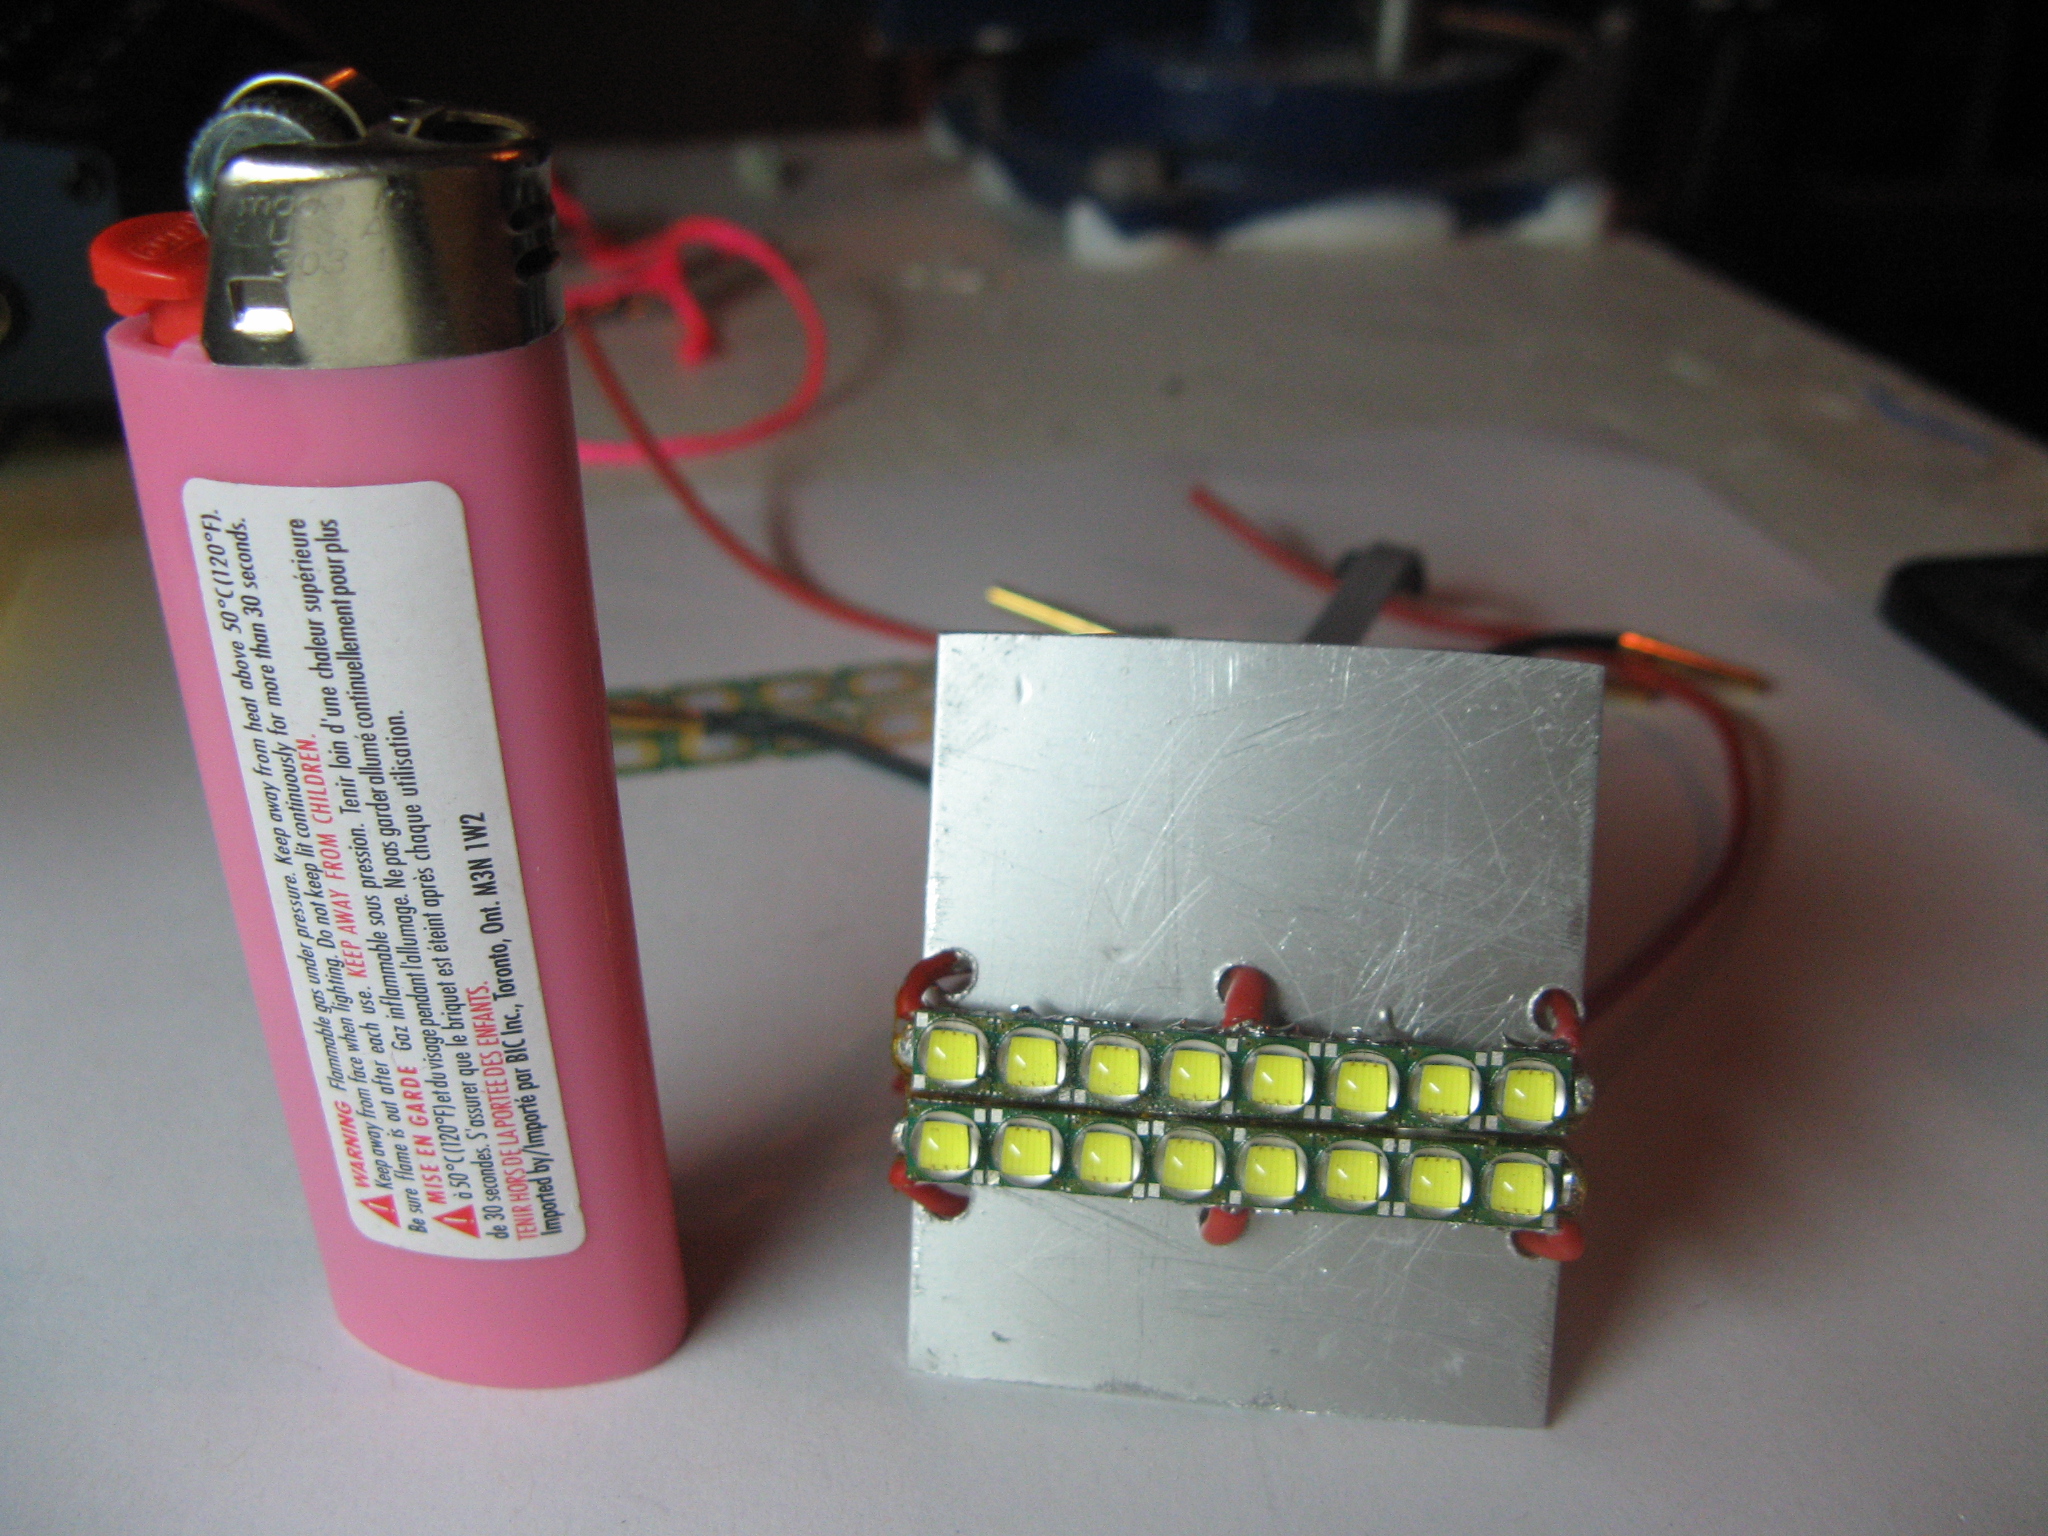
The array was then wired and fixed to an aluminum plate with heat conductive adhesive. A temperature sensor was also added.
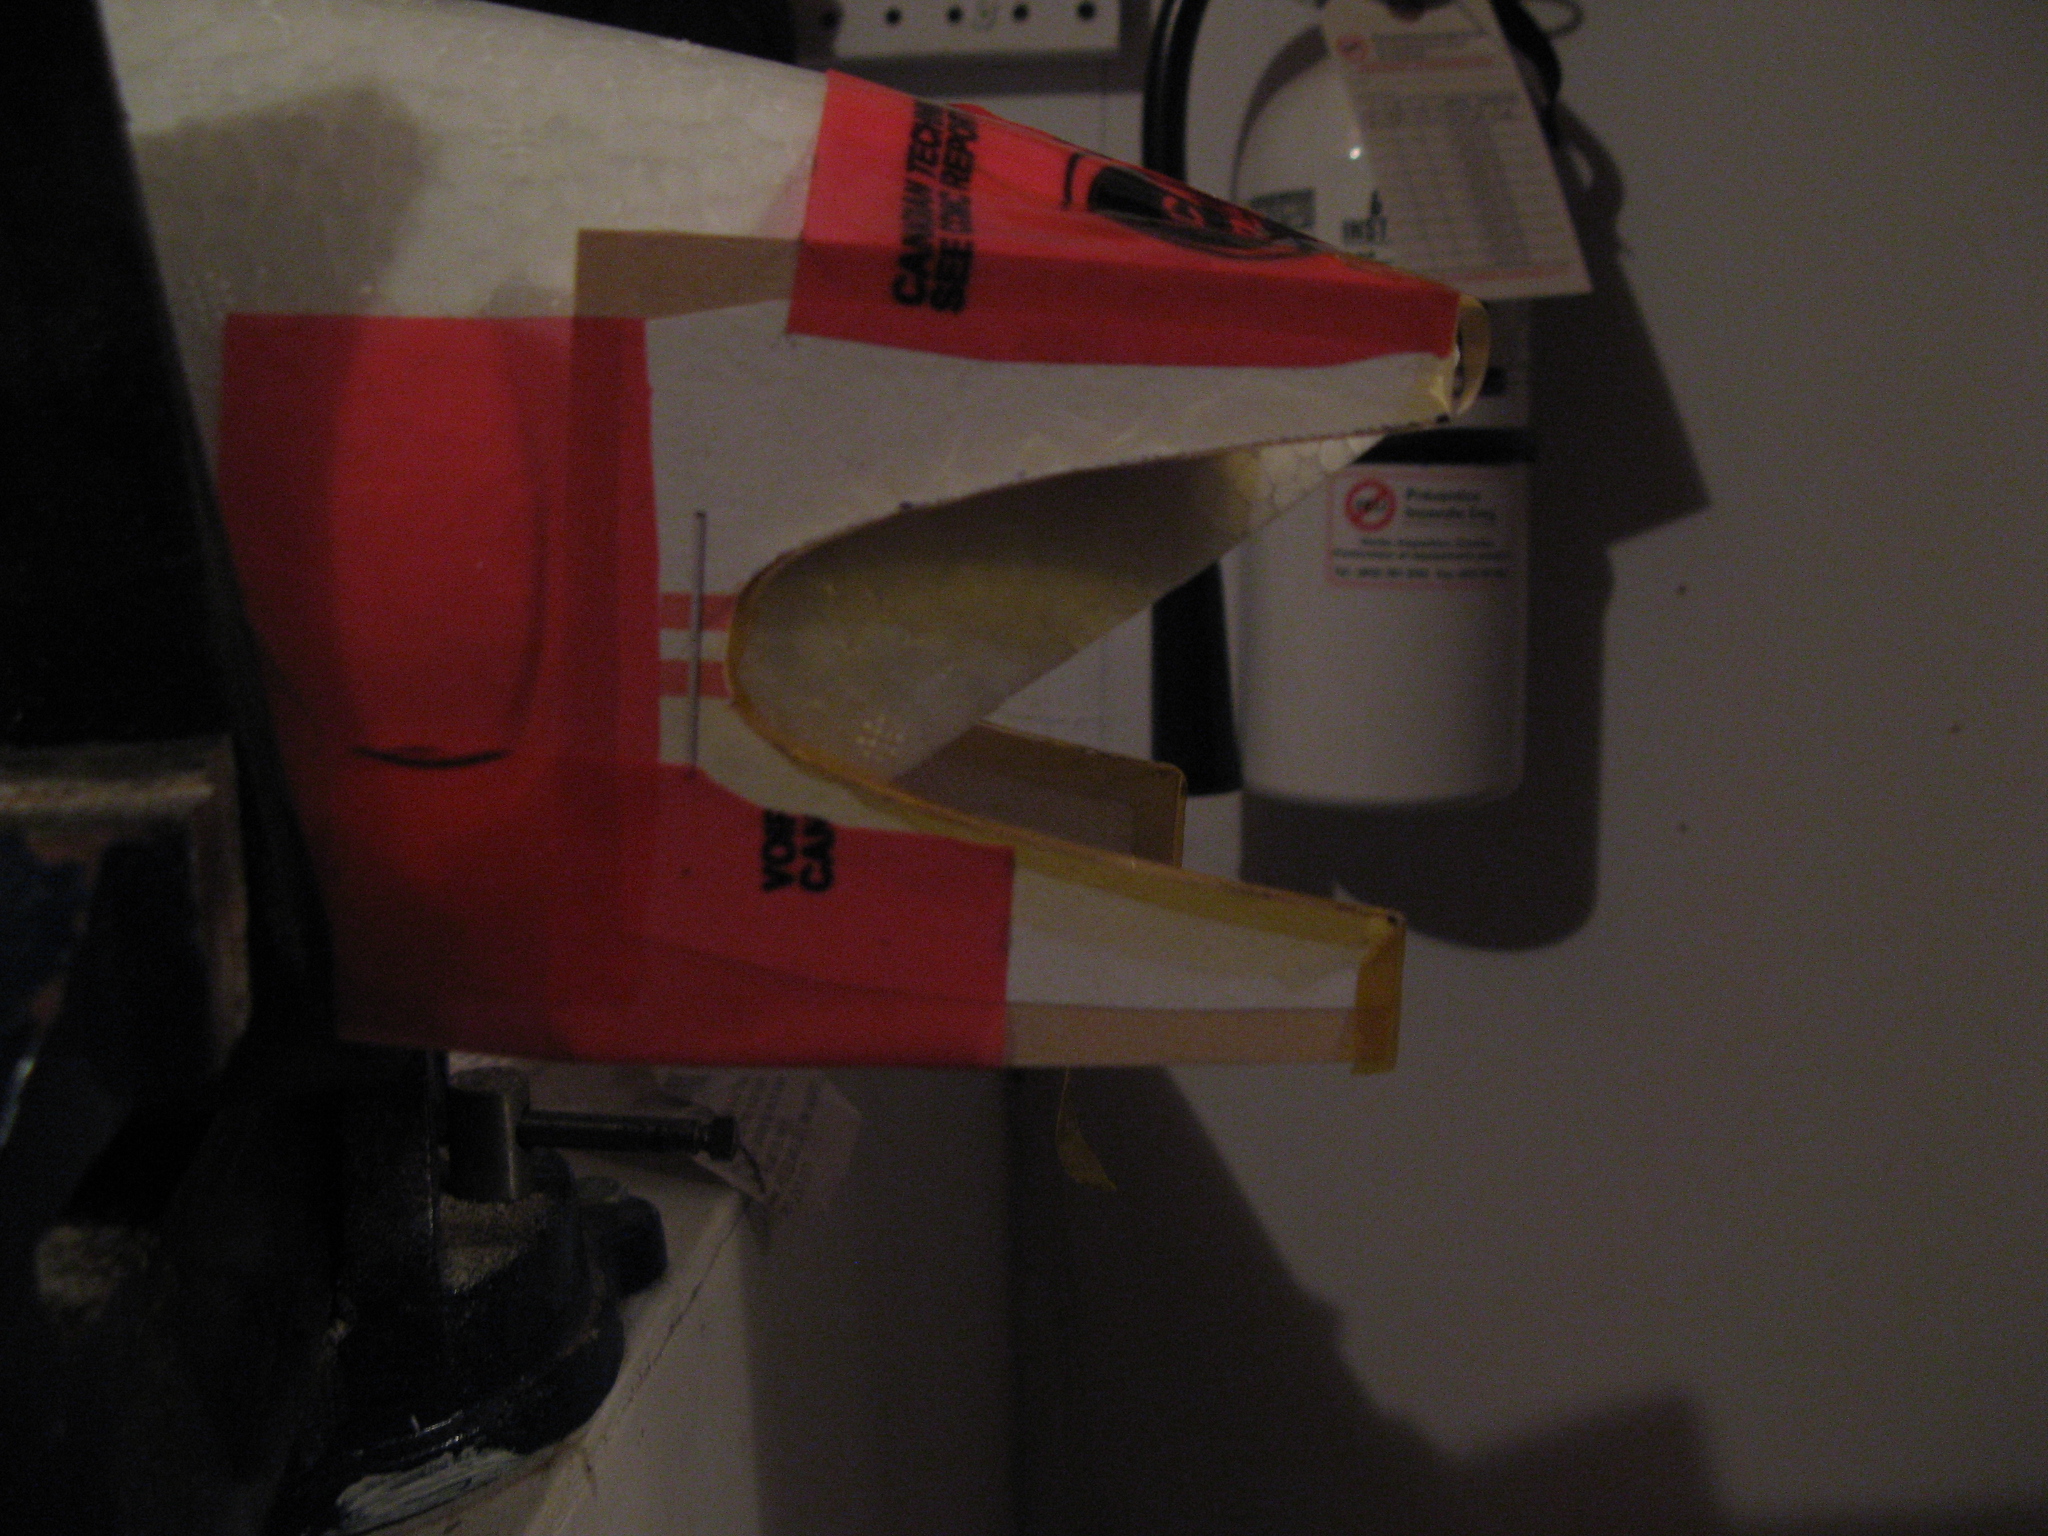
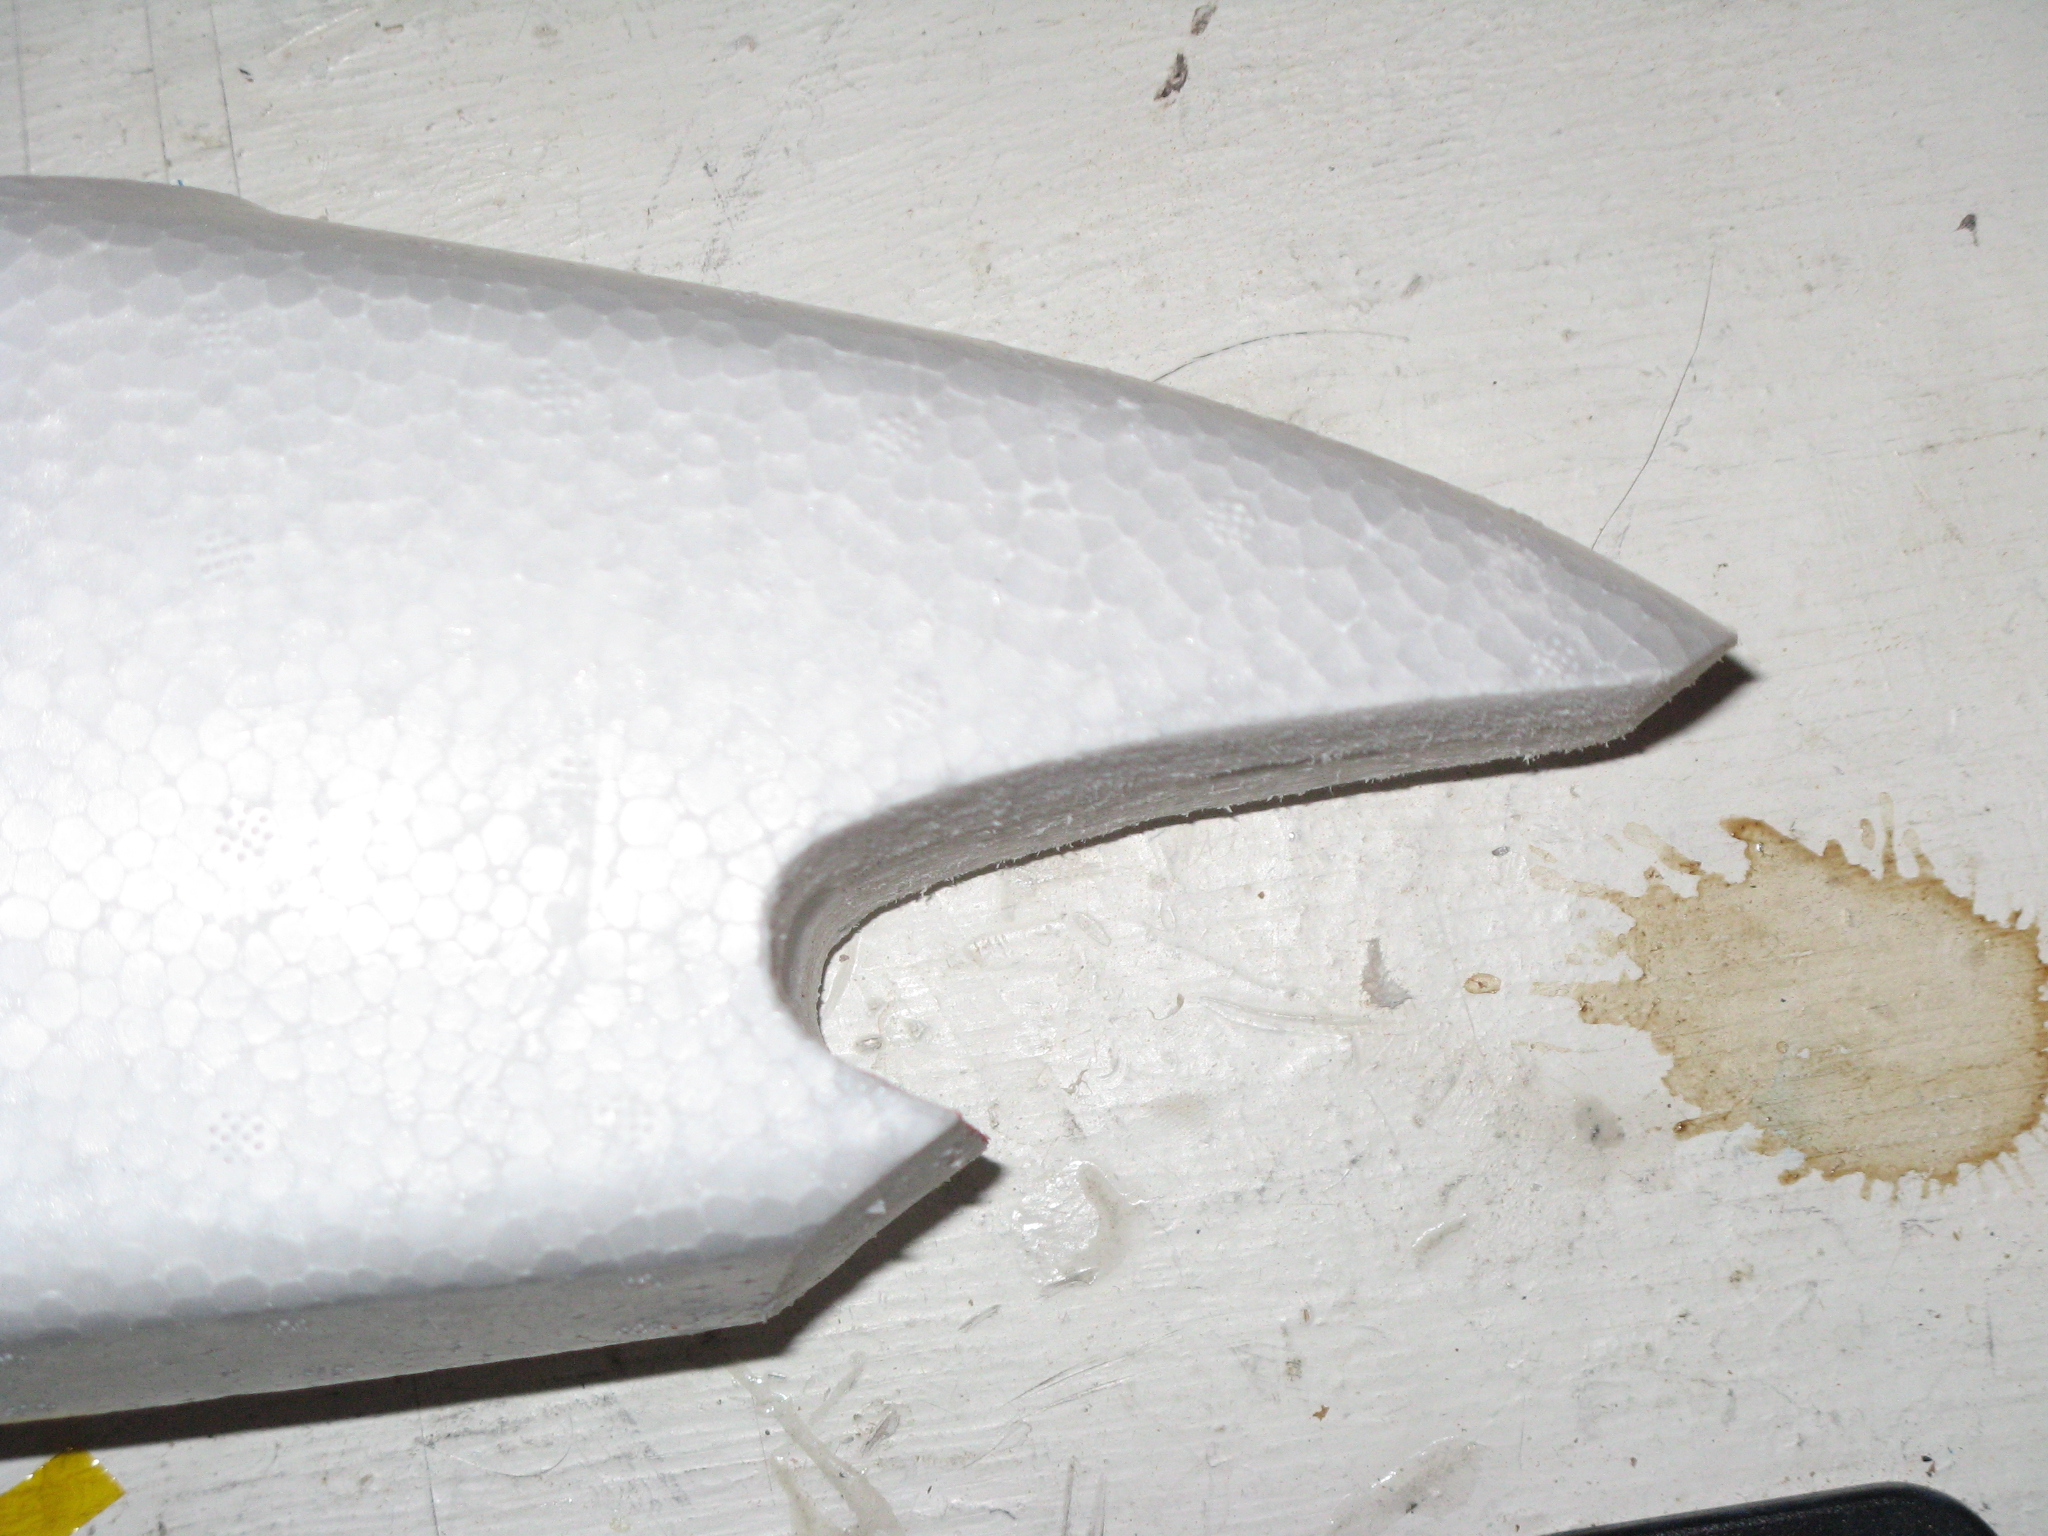
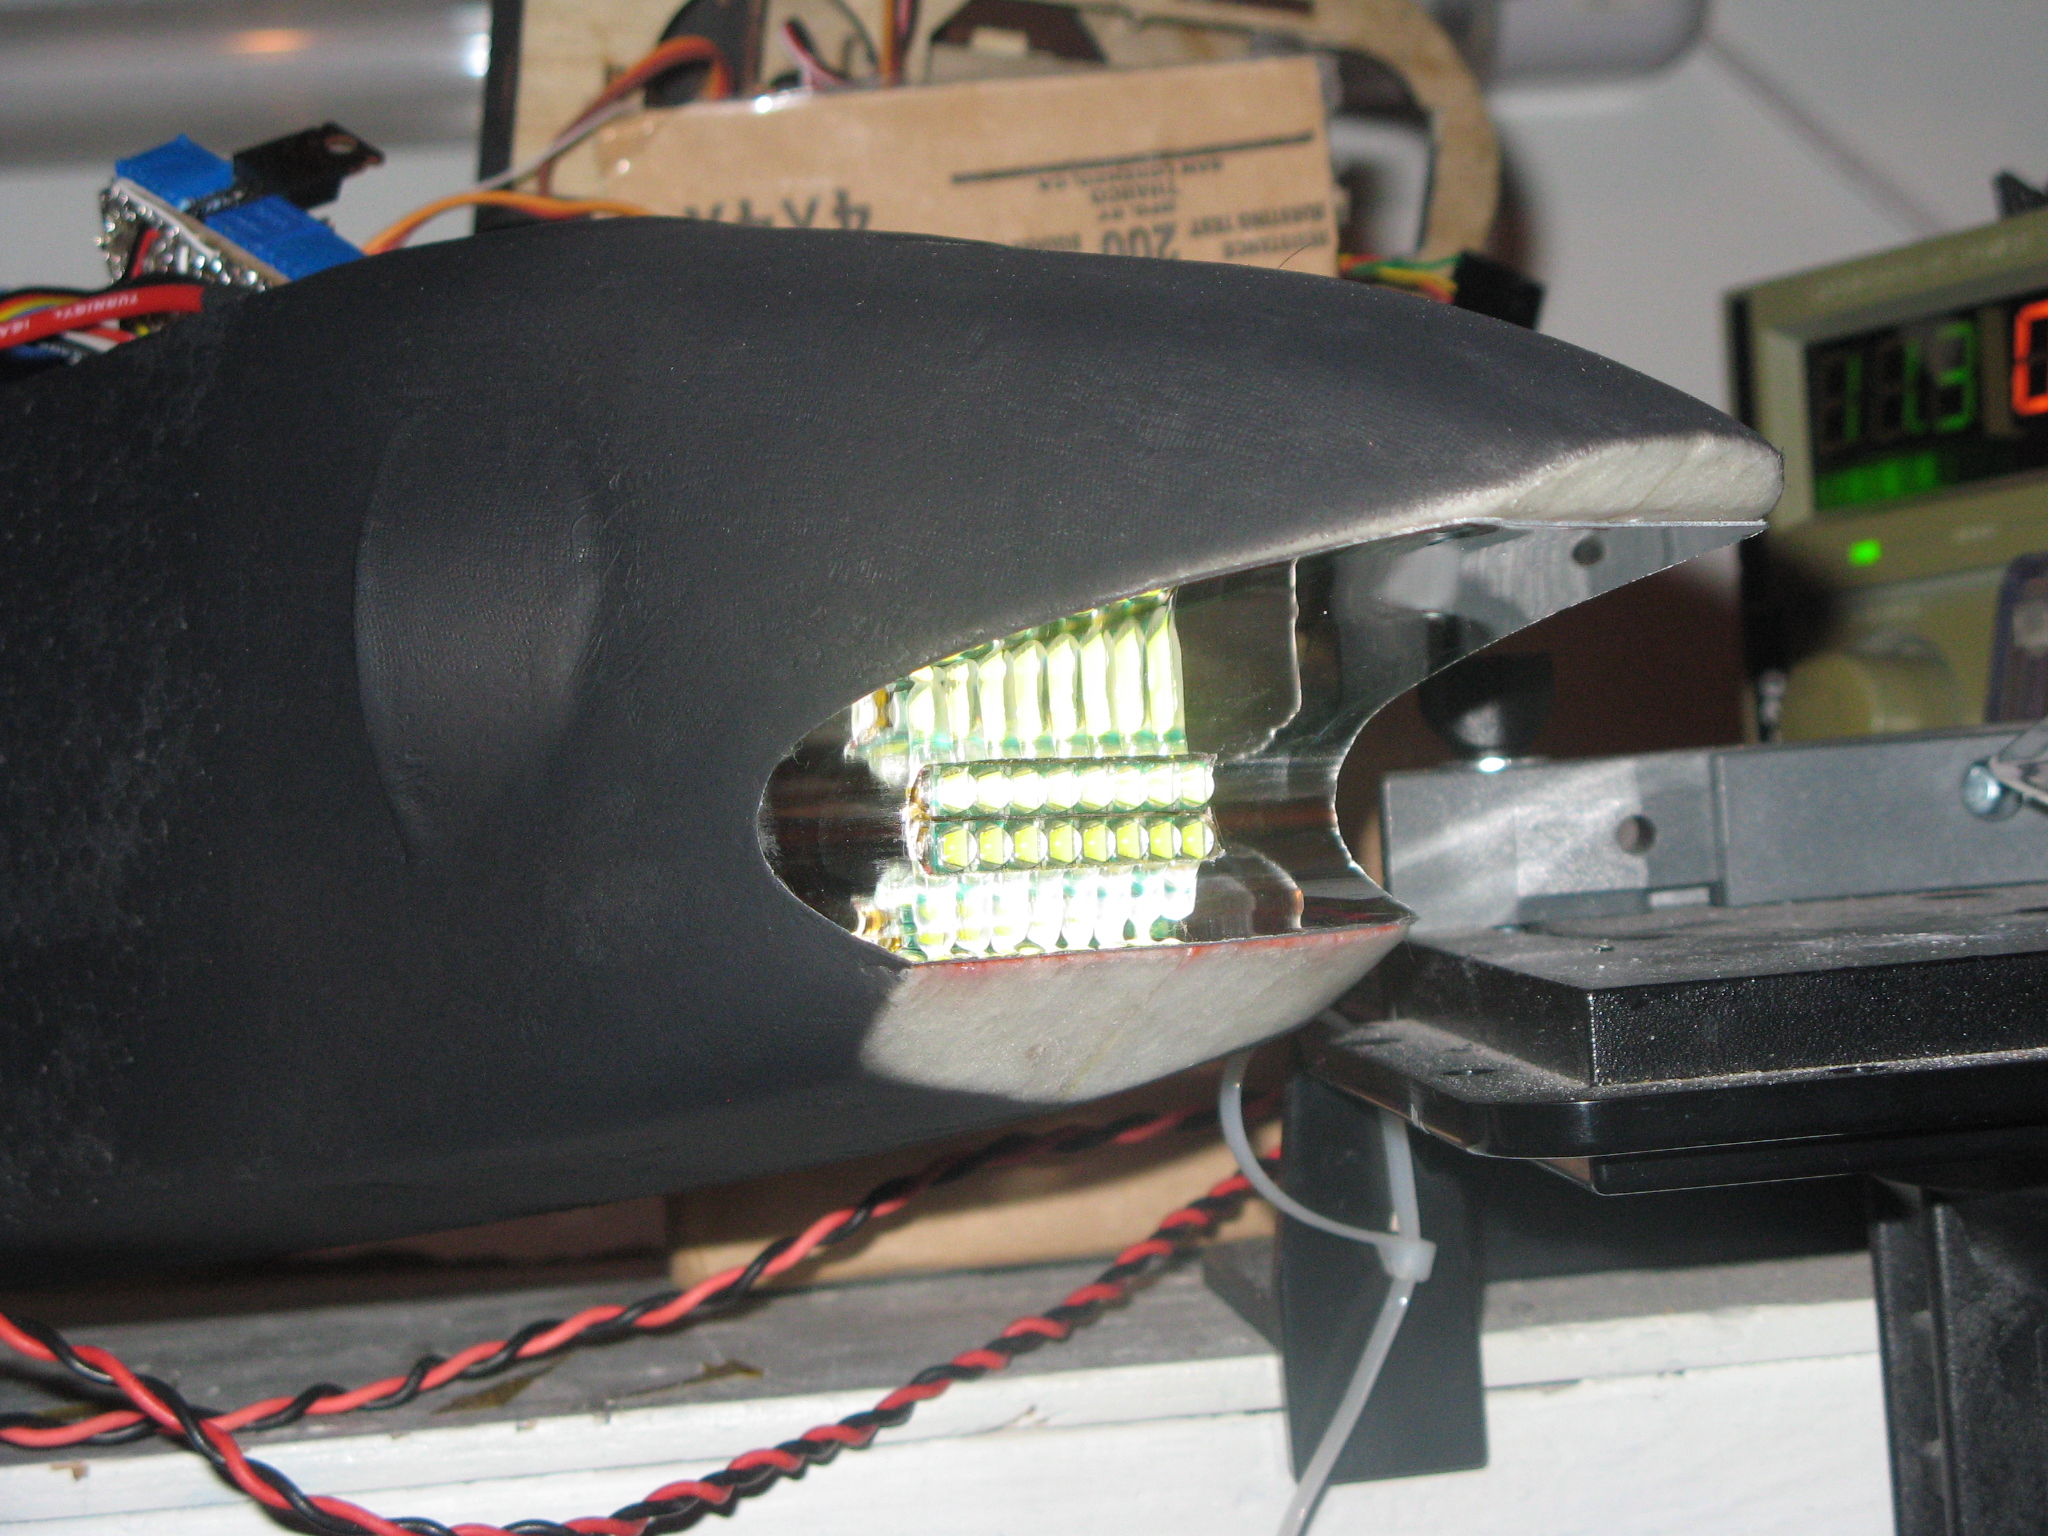
I designed a parabola with focus points around de LEDs to reflect the light forward/down. A cutout in the plane’s nose was made to accommodate the parabolic reflector.
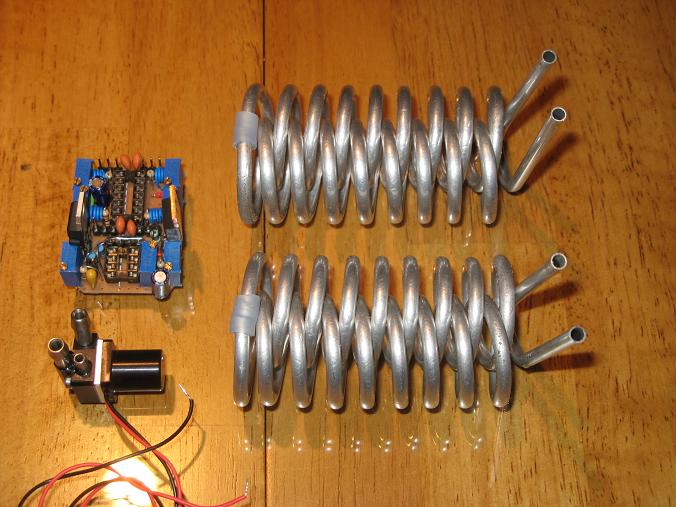
I made a linear 4 channels LED driver good up to 6A (x4). It is controlled via an auxiliary channel on the radio to dim the light. I wound two coolers out of 5/32″ aluminum tube with total combined length of 12ft. Coolant is pumped by two micro-pumps, also controlled by the driver.
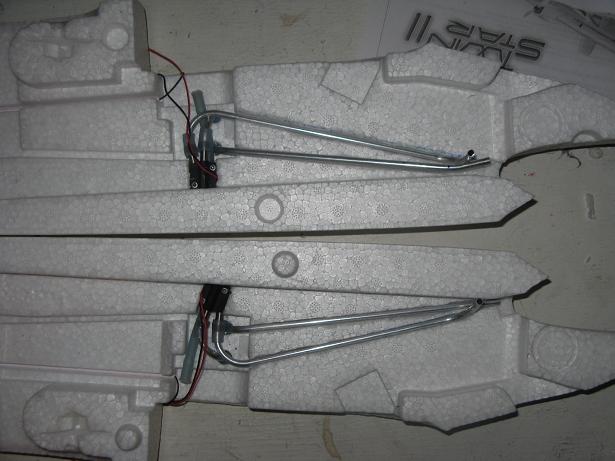
Plumbing was installed in two independent loops. Each loop cool one row of LEDs in opposite flow direction.
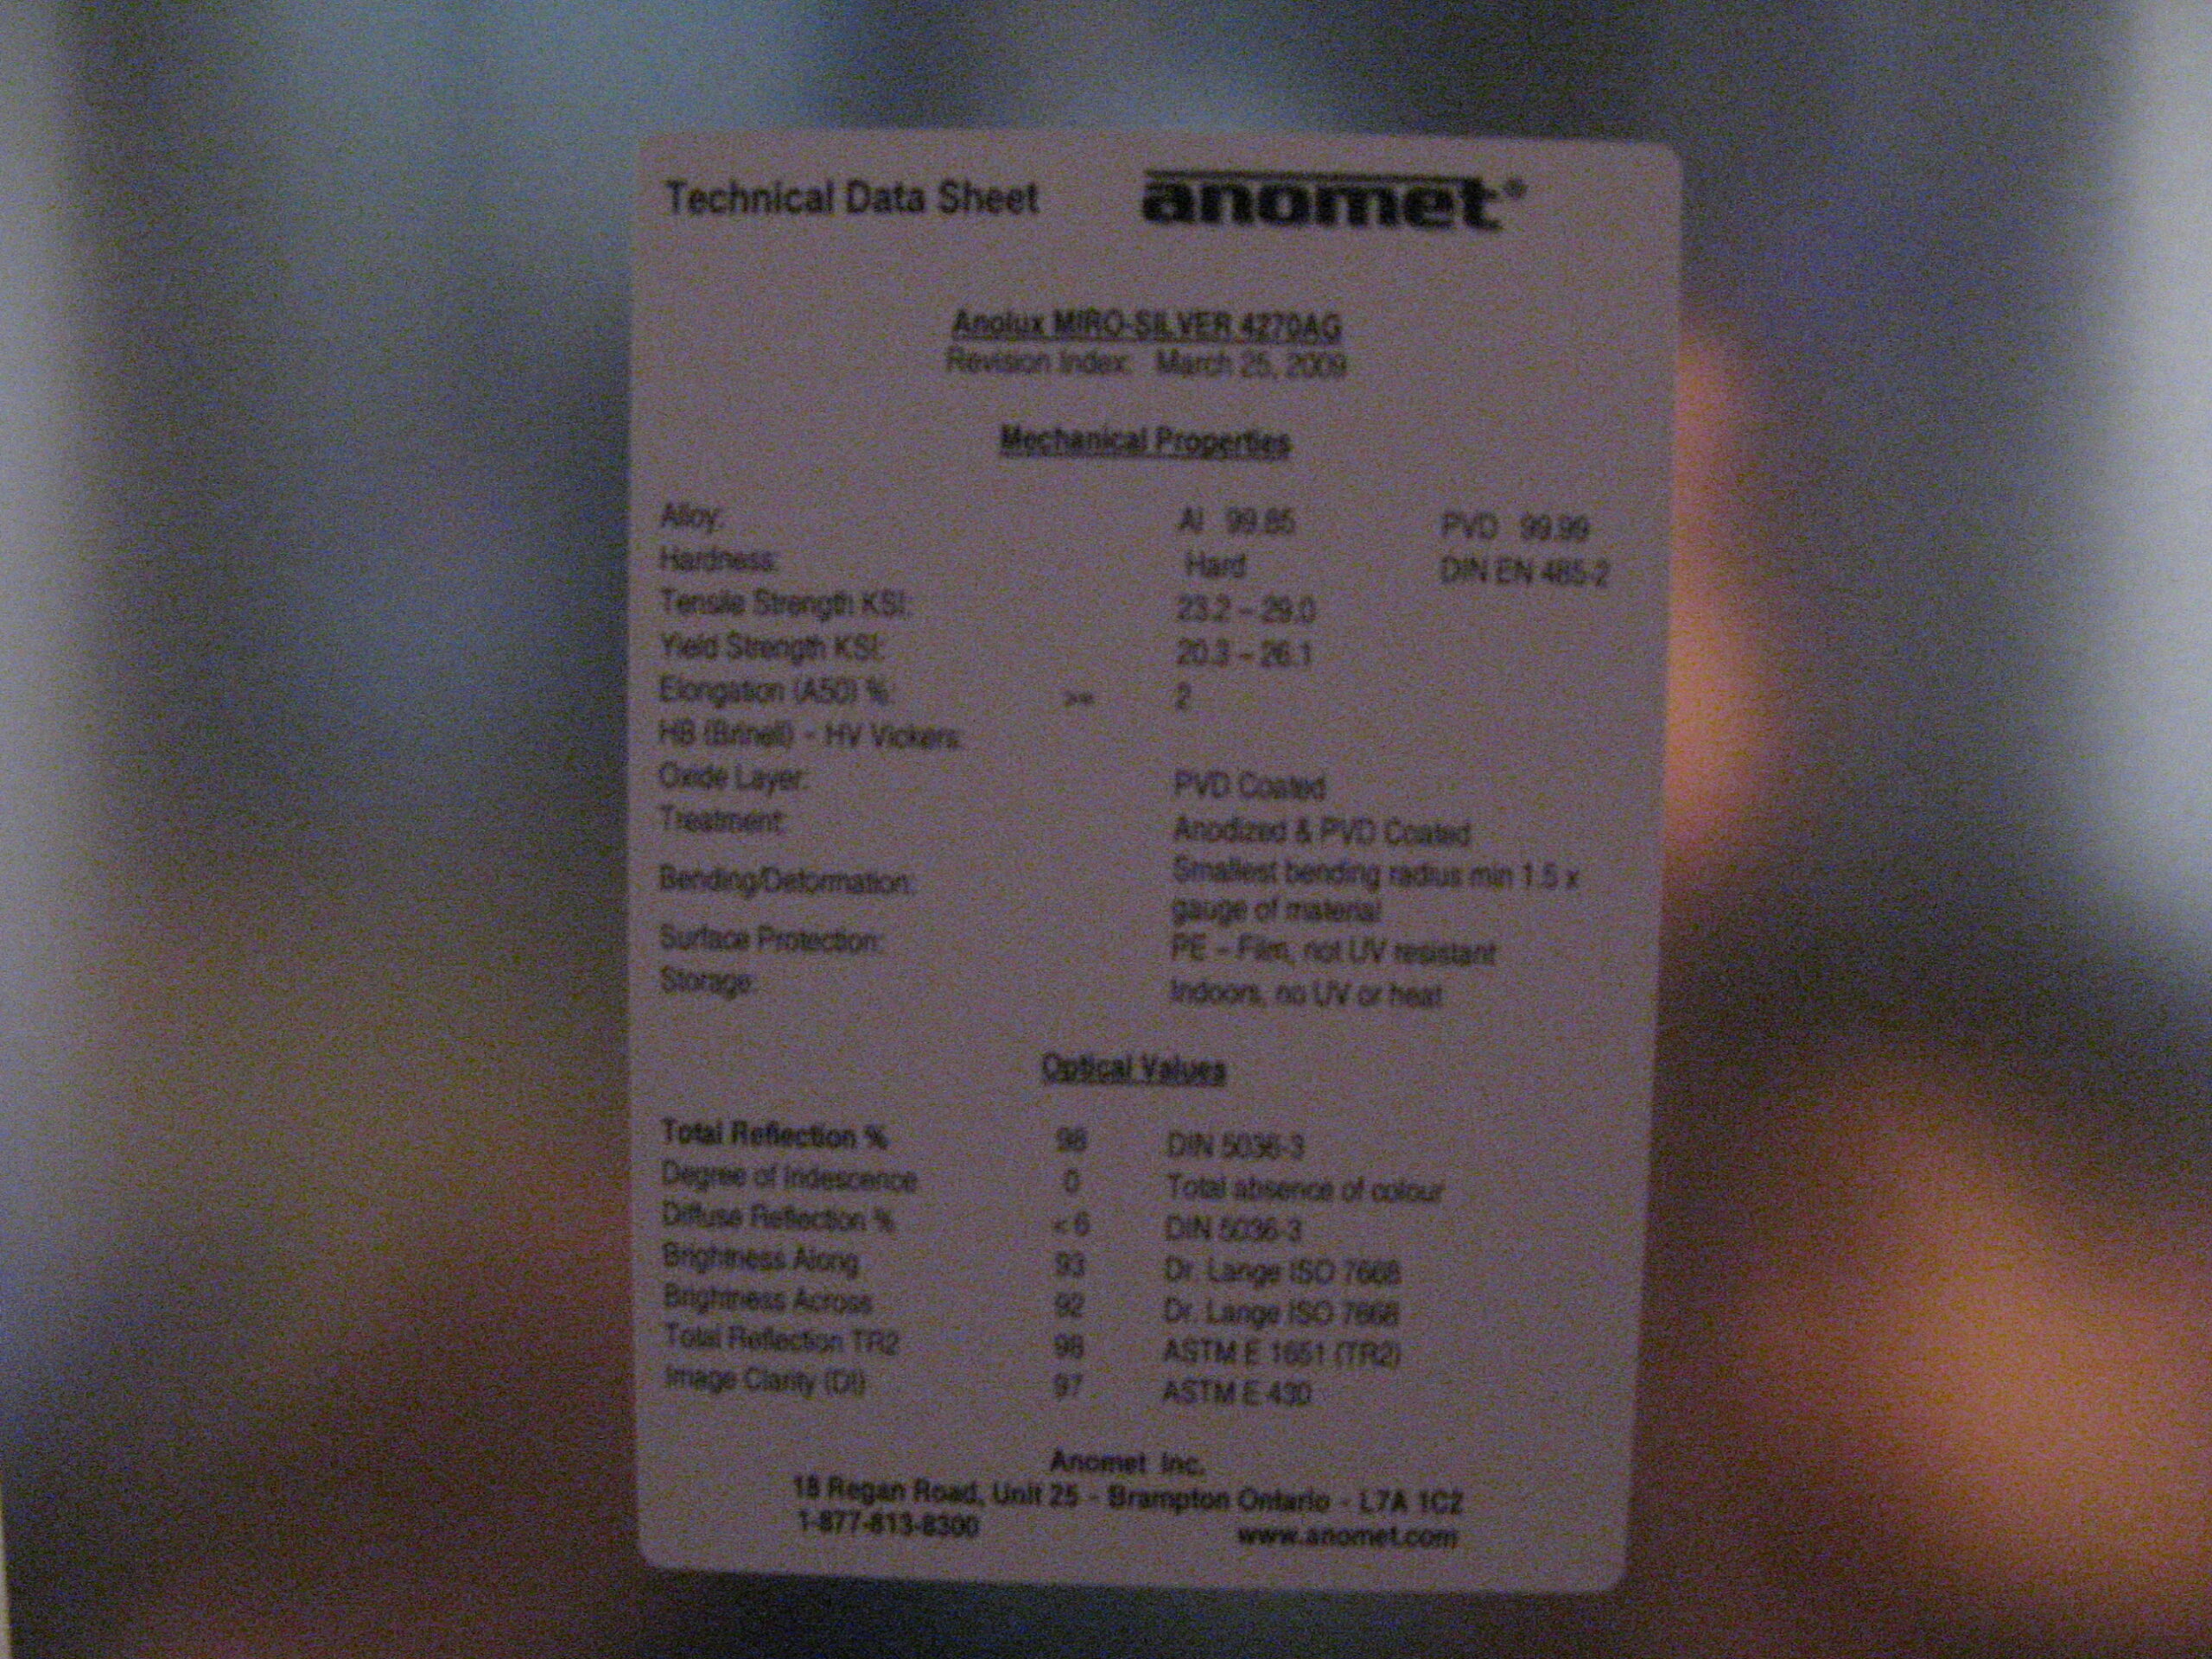
The reflector was made from the most reflective material internet had to offer: Anomet’s miro-silver.
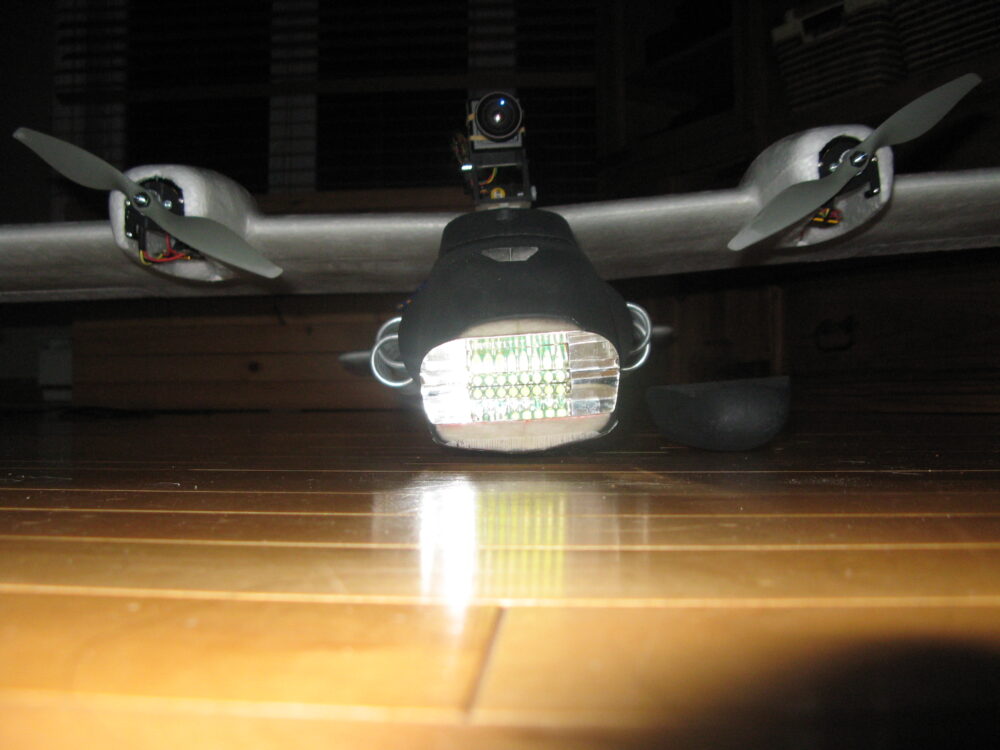
The parabolas doing their job, you can see in the reflection of LEDs.

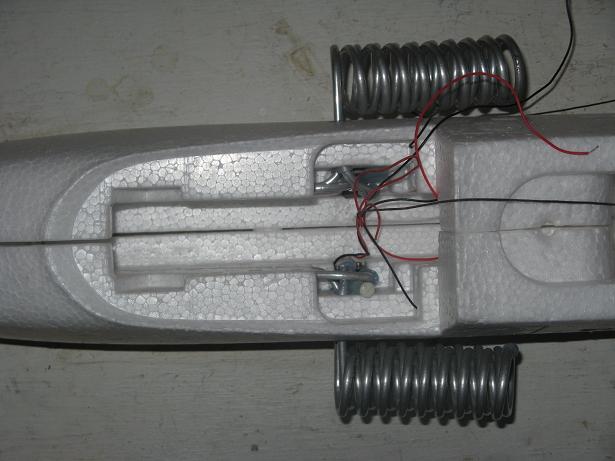
The Nose was designed so air flow can enter the light/driver area and exit on the sides to maximize cooling.

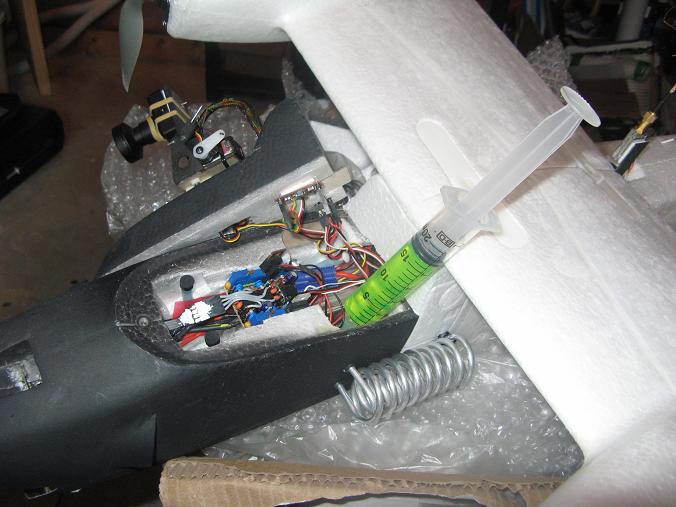
Coolant is added is each loop (mix of water and glycol), while the pumps are running to clear any air bubble.
Continuous full power tests where done to check the how the cooling behave without airflow.
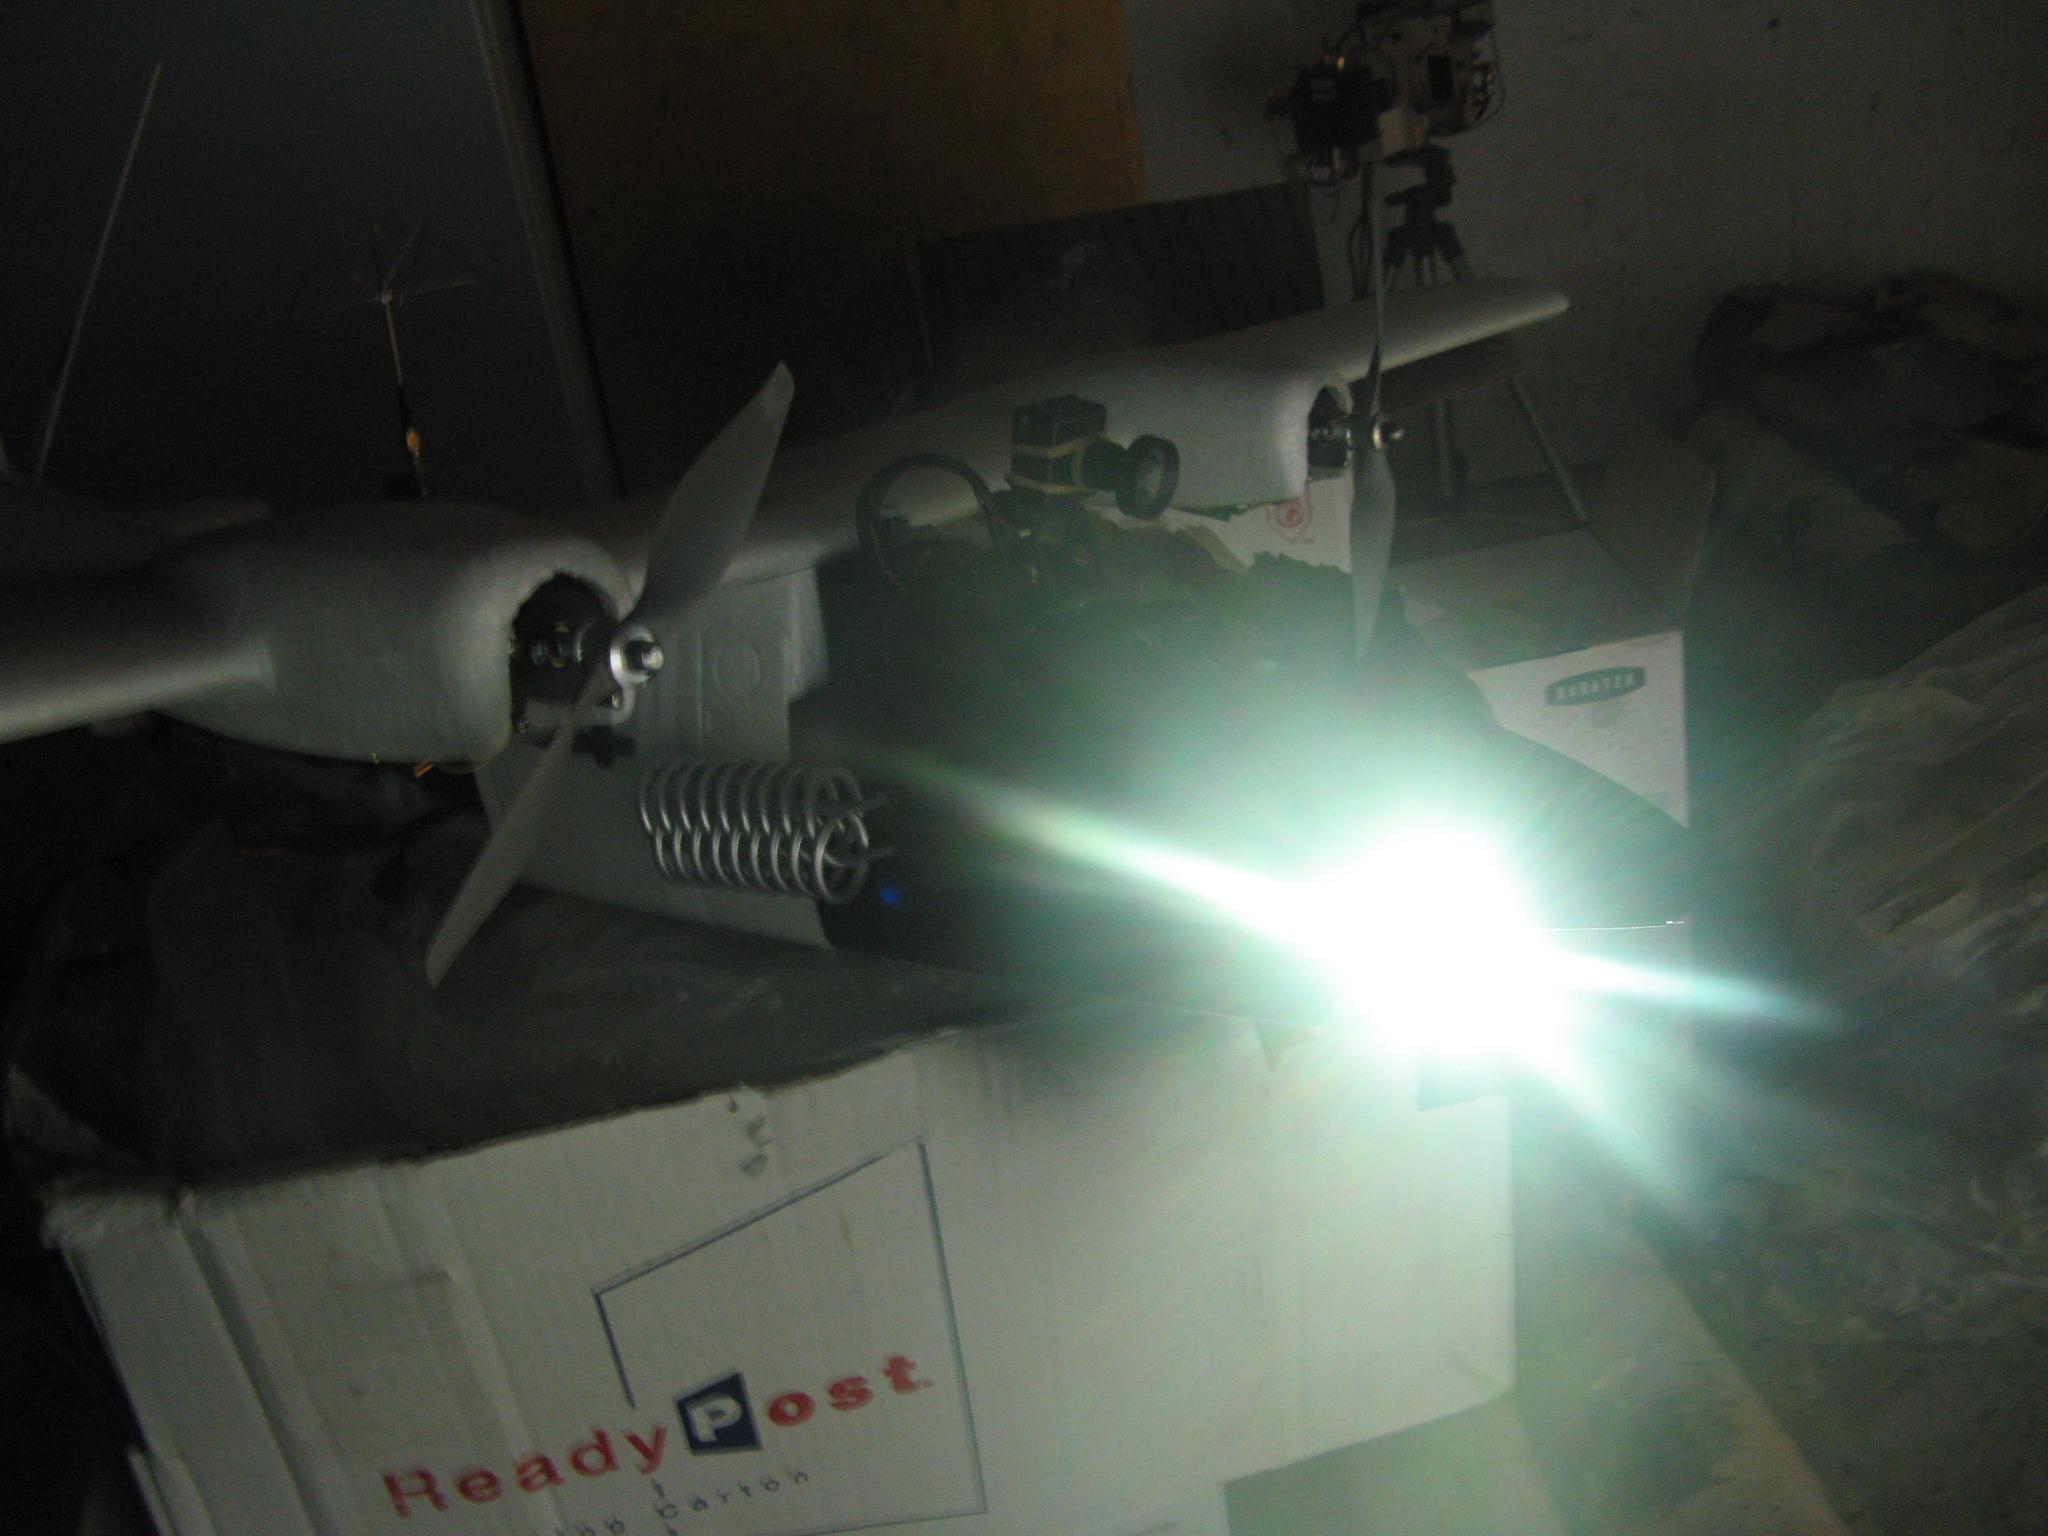
Below is a video in action. The top center OSD readout is light current in A (0.4 = 4A), top left is outside temperature in C and top right is LED light’s temperature.
No Comments